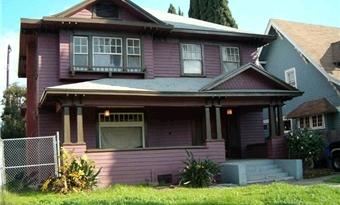
A couple with absolutely no home improvement skills try to fix up a 1905 Craftsman in the Historic West Adams area of Los Angeles.
Sunday, January 25, 2009
Living Room and Dining Room Complete
Sunday, June 29, 2008
Living Room Wood
Accordion Mirror Burns Hole In Wood
angle, and burned this big gash in the newly refinished wood. It is about 5" long. The room smells singed. This was really scary. Notice that the mirror is now neatly folded away in its position away from the window, until we buy a shade to hang in the window.
Saturday, January 26, 2008
The Big Move Upstairs!
The green room is BR#2--our room. The dark picture is the landing which is almost all wood--it has 5 doors, and the built-in linen closet, with little strips of wall in between which we painted a golden color. (Colors don't show up very well in the pix)
The lighting Fixture is for my sewing room, from Rejuvenation. And the photo which follows that exact sewing room/office. We picked up a nice desk system and chair on Craig's list which I'll use to set up my sewing machine. It is a dark wood which goes with the woodwork really well.
It felt nice to unpack our books after 3 years--almost like getting all new stuff since we hadn't seen it in so long!
Backyard Summer Project
Saturday, May 05, 2007
Sunday, April 08, 2007
Spring Break '07

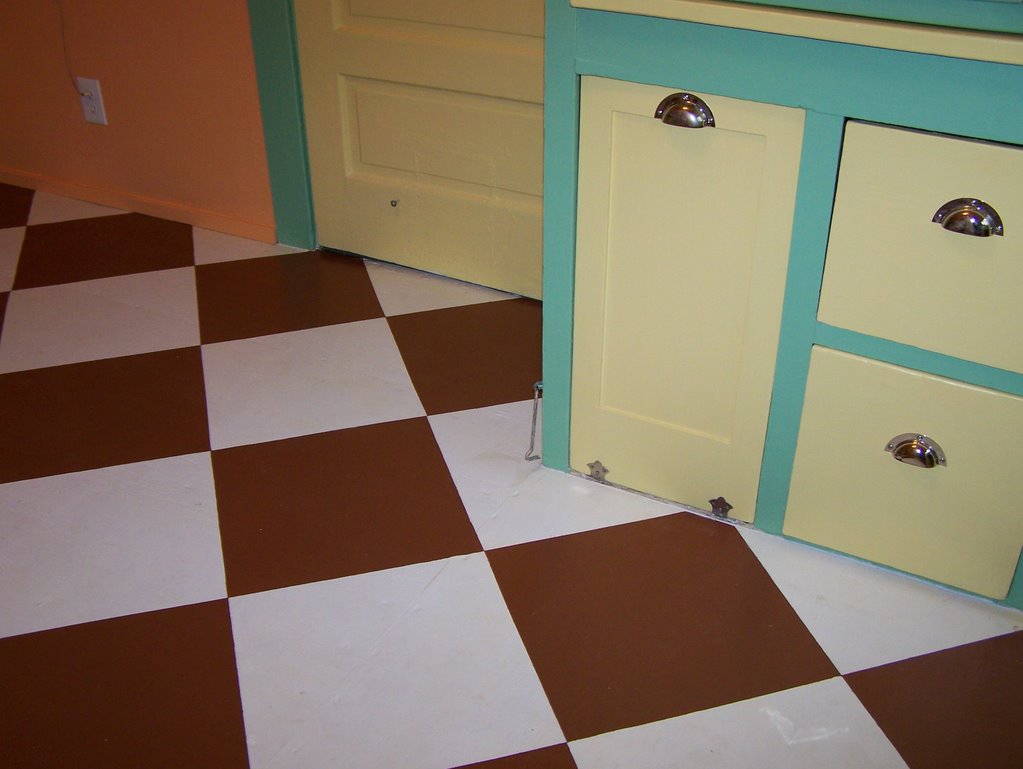
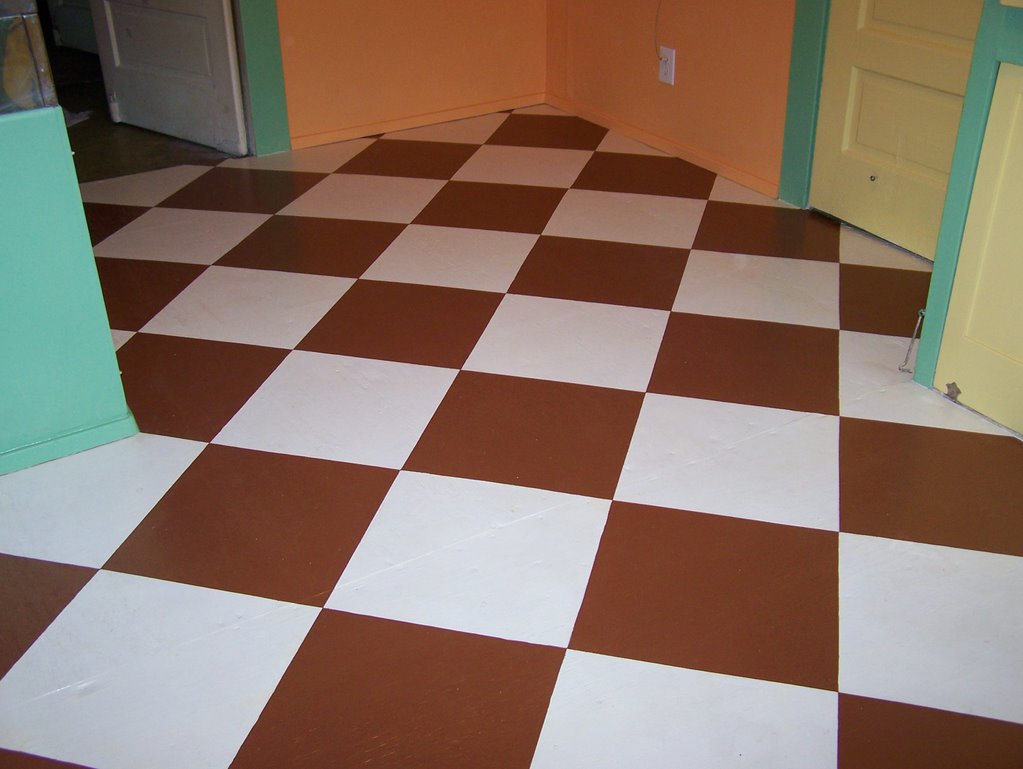
Where did we spend our spring break? Florida? Palm Springs? Nah..we stayed home and worked on the house like good homeowners should. We alternated between putting this nifty brown and white checkerboard pattern on the kitchen floor...

and finishing some more wood in one of the bedrooms upstairs. The kitchen floor was a pain...two coats of primer, two coats of white deck paint, laying out the checkerboard pattern, taping off and adding the brown squares, and finally three coats of polyurethane. That put the kitchen out of commission for most of the week so we ate lots of take out. While waiting for the layer to dry, we went upstairs and did some staining the was supposed to be finished over last winter's break! We're back in the kitchen now, and Raphael is celebrating by making enchiladas. Tomorrow is opening day at Dodger Stadium...the first fun we'll have all week!Saturday, March 17, 2007
A Little Paint in the Kitchen


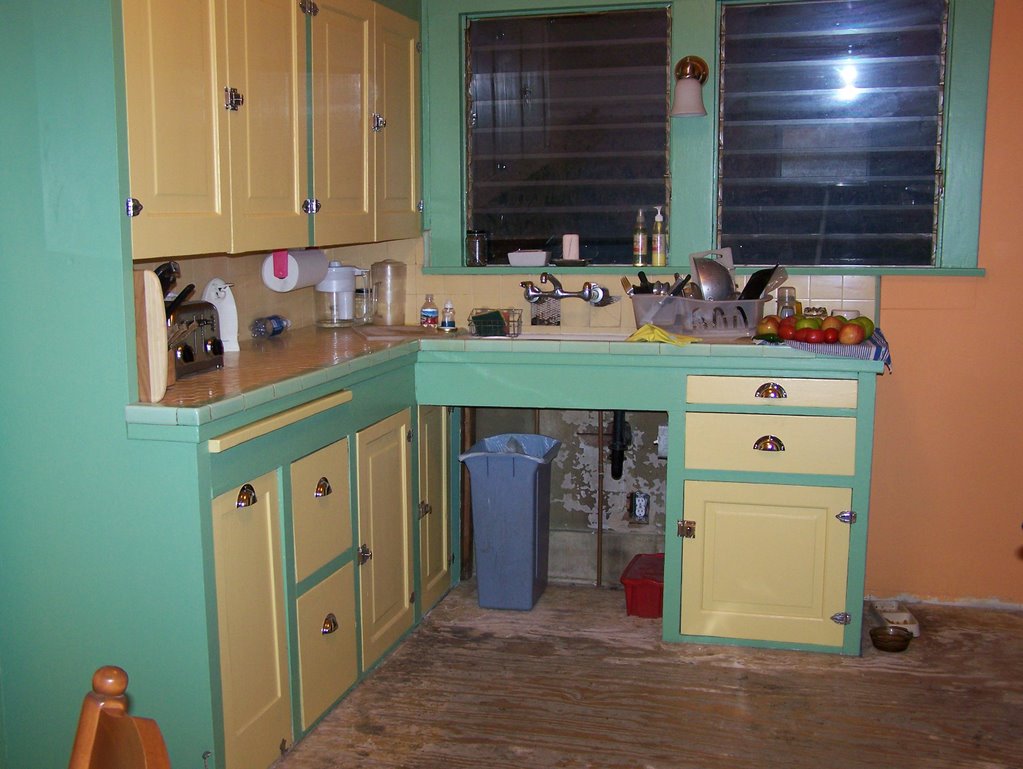
This was our idea of a "quickie" project that has dragged on way too long. The chipping layers of old paint made for a lot of prep work, and we didn't even do that great of a job. We decided to paint the kitchen cabinets green and yellow to match the old tile. The walls ended up orange just to brighten things up a bit. A few of the many doors still need paint. New drawer pulls, a schoolhouse style lighting fixture, and a brighter bulb have helped to cheer things up considerably. We still plan on painting the plywood floor, and I'll sew a little curtain to hide that trash area under the sink. Also, we bought some old citrus crate labels...those are out being framed. So the quickie kitchen project continues on. More work should get done over spring break.
Sunday, September 17, 2006
Garage Revamp


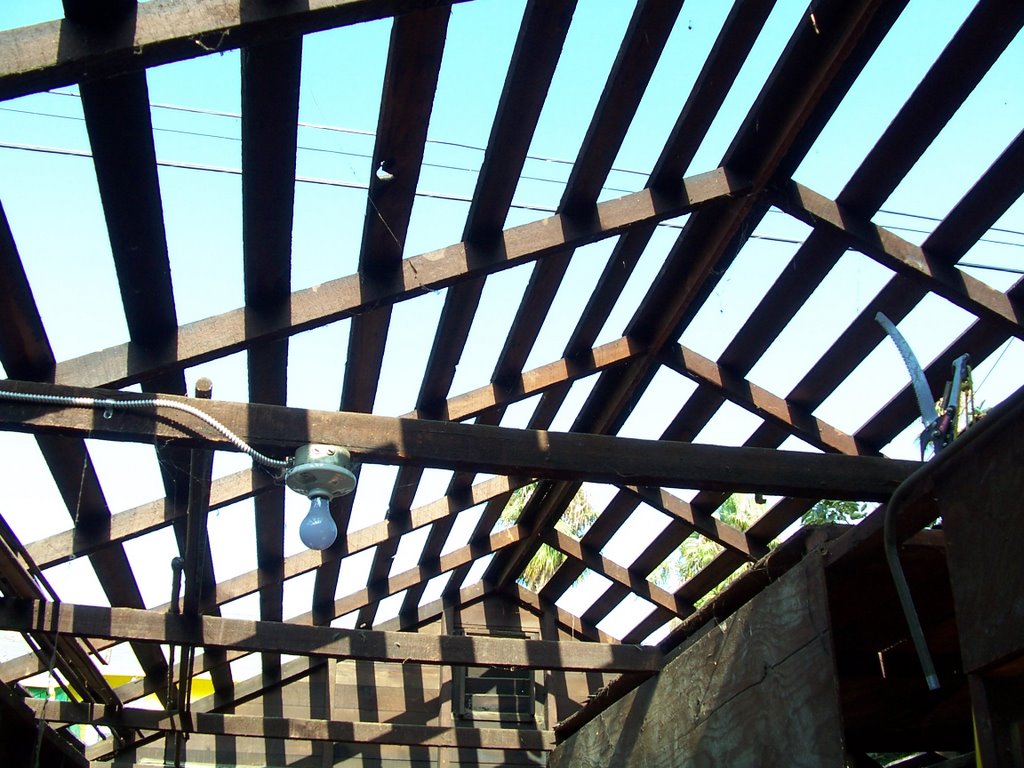
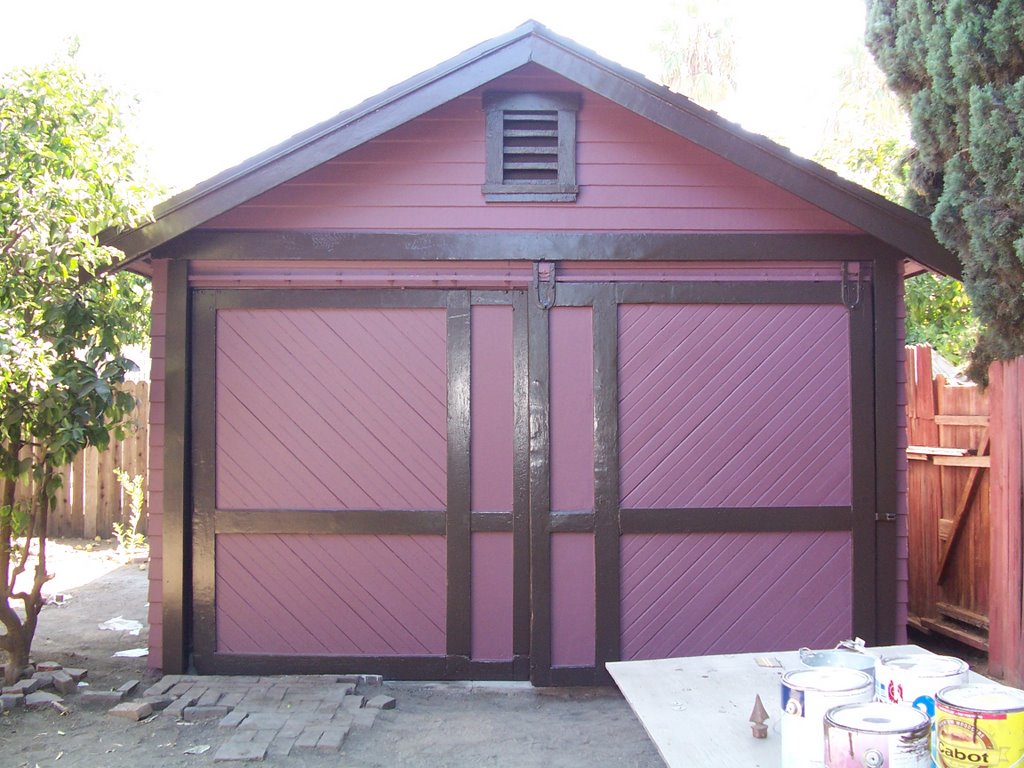
Our little garage was built in 1910 for the cost of $40.00, according to the building permit. When we got here, the original shingles still covered the roof, although sunshine and rain came in through more than one hole, and it was tilting slightly to the right. We had it straightened and shored up, reroofed, painted to match the house. Although these are not our favorite colors they will certainly do for now. We spent this weekend tidying up the backyard, but it still has a long way to go. At this point, work on the backyard entails moving the dirt around, spraying Round-Up on the crab grass, and pruning the orange and meyer lemon (we think) trees.
Sunday, June 18, 2006
Bathroom - Almost done!!!

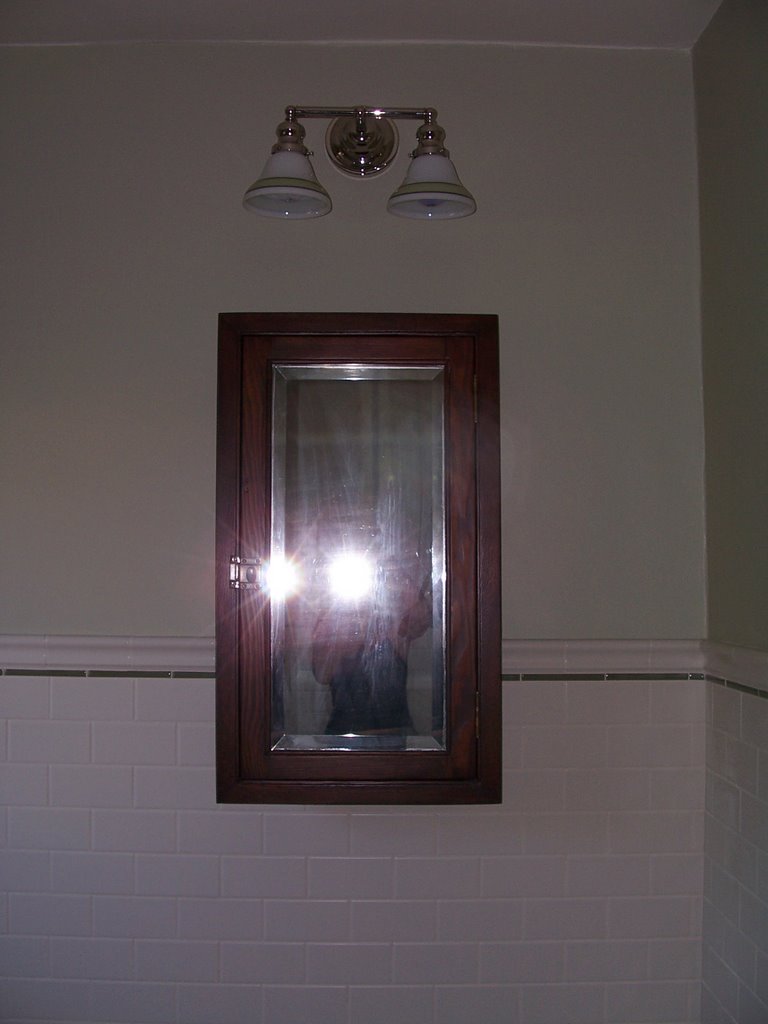
All we need now in the bathroom is a shower curtain, a towel bar, a shelf, etc. and a mop that will clean the dirty, filthy floor. We are also planning on putting an accordion mirror on the window frame above the sink so we can have a mirror near the sink area/window. The medicine cabinet hangs on the wall that is next to the toilet, to the right as you come into the room. This seems to be the original medicine cabinet, but we weren't sure where it originally hung, as it was already down when we moved in. I'll be searching for a nice little antique table or cabinet to place under the medicine cabinet.
We aren't using this bathroom until the entire upstairs is complete, and we move up there. At this point, it doesn't feel like that day will ever come. For now, this is a Model Bathroom.
Maybe I'll treat myself to a bubble bath on June 30.....the last day of school!
Sunday, March 19, 2006
Some neighborhood shots


As for progress on our place, I spent
the past two weekends trying to diagnose a pesky electrical problem with the new bathroom sconces. They would work while hanging by the wires, but once screwed into the wall, the upstairs circuit breaker would blow. Long story short (No pun intended!), there was a short in one of our new lighting fixtures. Hopefully, the problem will be rectified when the new fixture arrives. Also, we decided to give up on stripping the old picture molding. We went this weekend to order new molding, which will have to be custom cut, but it should save many hours in trying to work with shorter lengths of old, damaged molding. We had Brent in to hang two doors, but as for us, we didn't do a lick of work! Still waiting to post our beautiful bathroom photos, as soon as it is done.
Wednesday, February 01, 2006
One Room Finished!
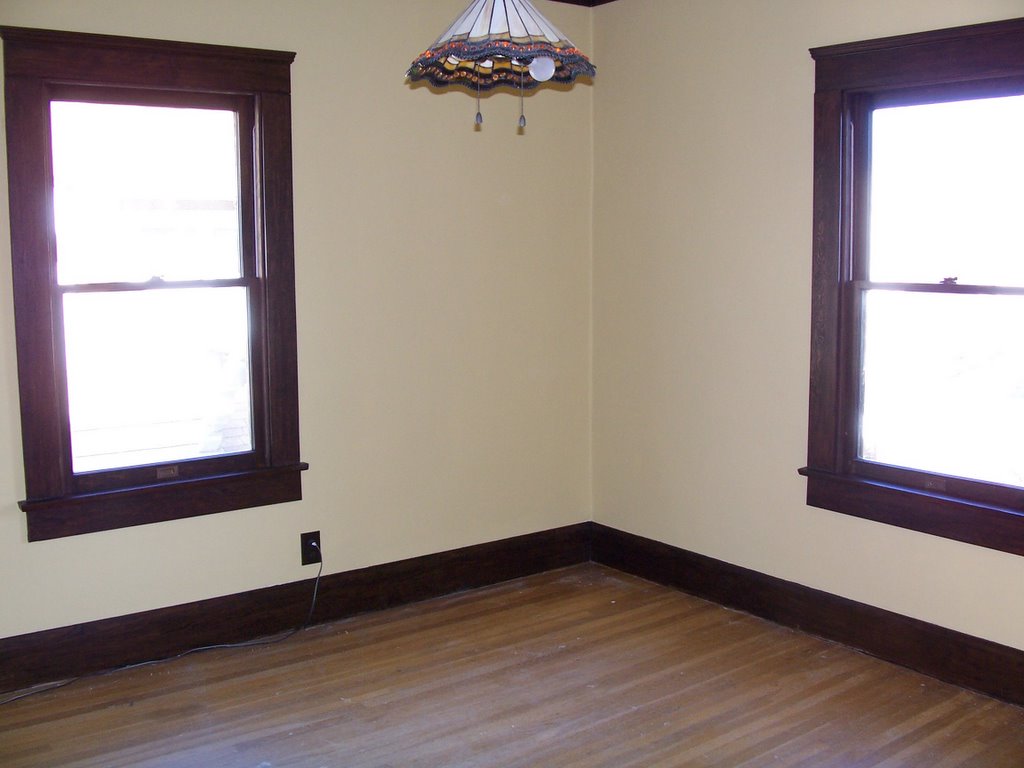
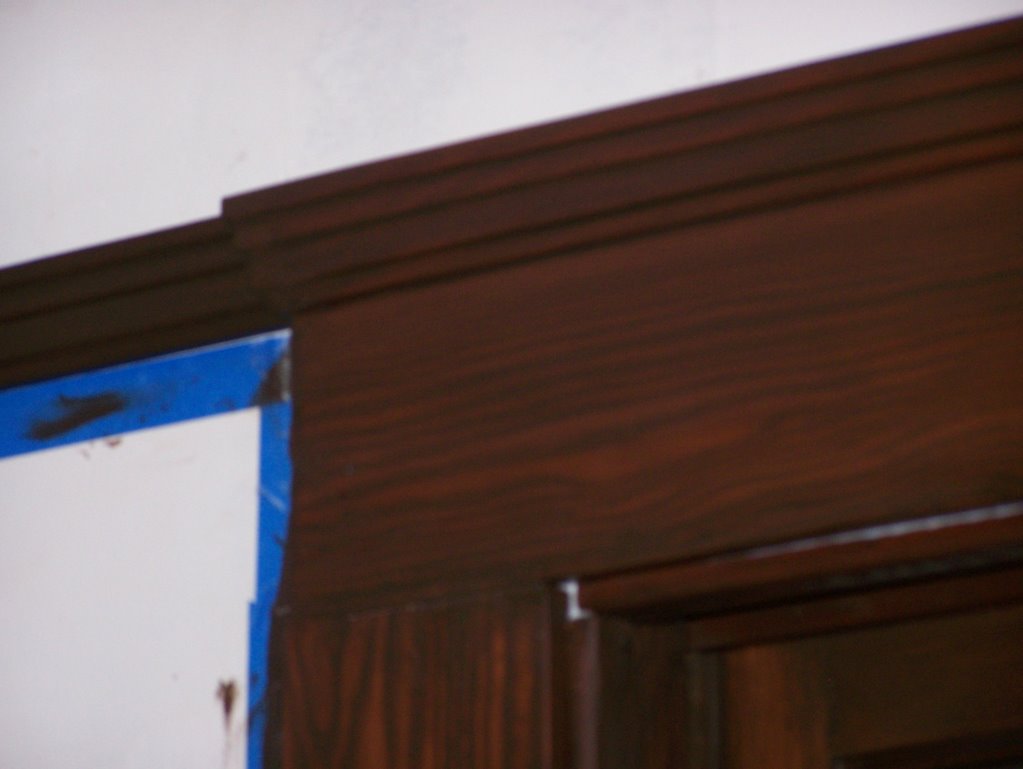
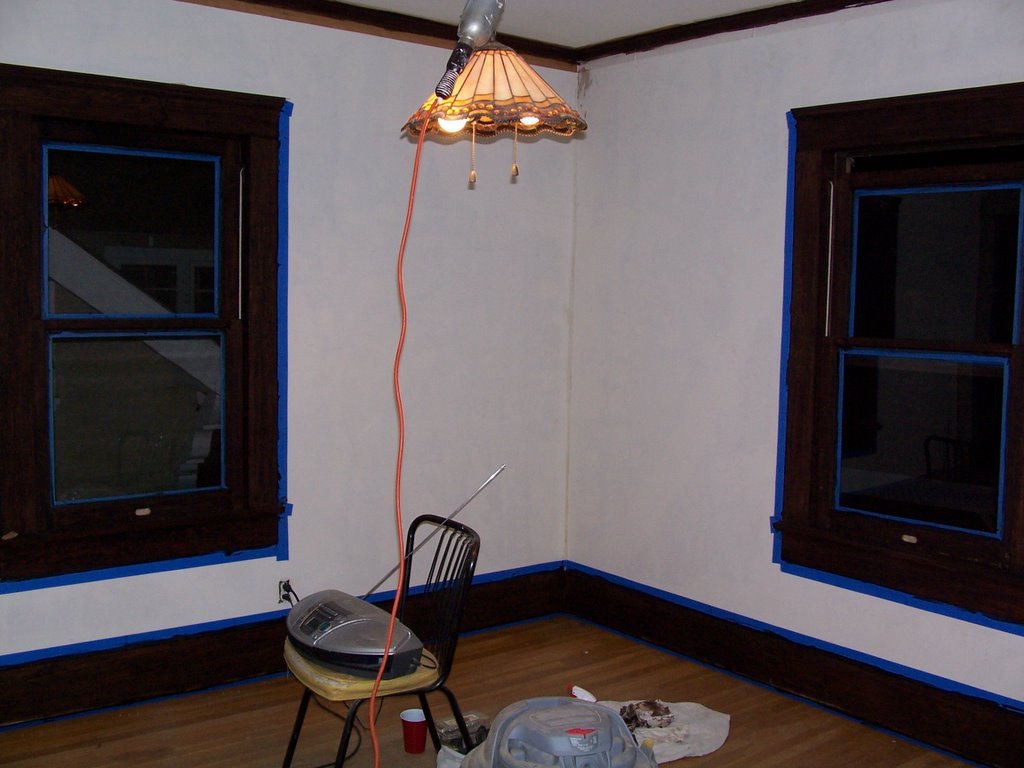
After being on vacation for about six weeks, I've had a lot of time to devote to the house. The smallest of our four bedrooms is now finished (with the exception of refinishing the floors, which we will do last when the whole upstairs is complete). The wood moulding, baseboard, and windows were stained in a dark mahogany (and three coats of polyurethane, which I am learning to apply without bubbles). The walls are a golden color called chestertown buff (which complements the color of the light fixture). The color is actually darker and richer than how it appears in the flash photo. We changed the electric outlets from white to brown and installed a period style push-button switch (with a dimmer-definately NOT period). It feels great to have one room done.
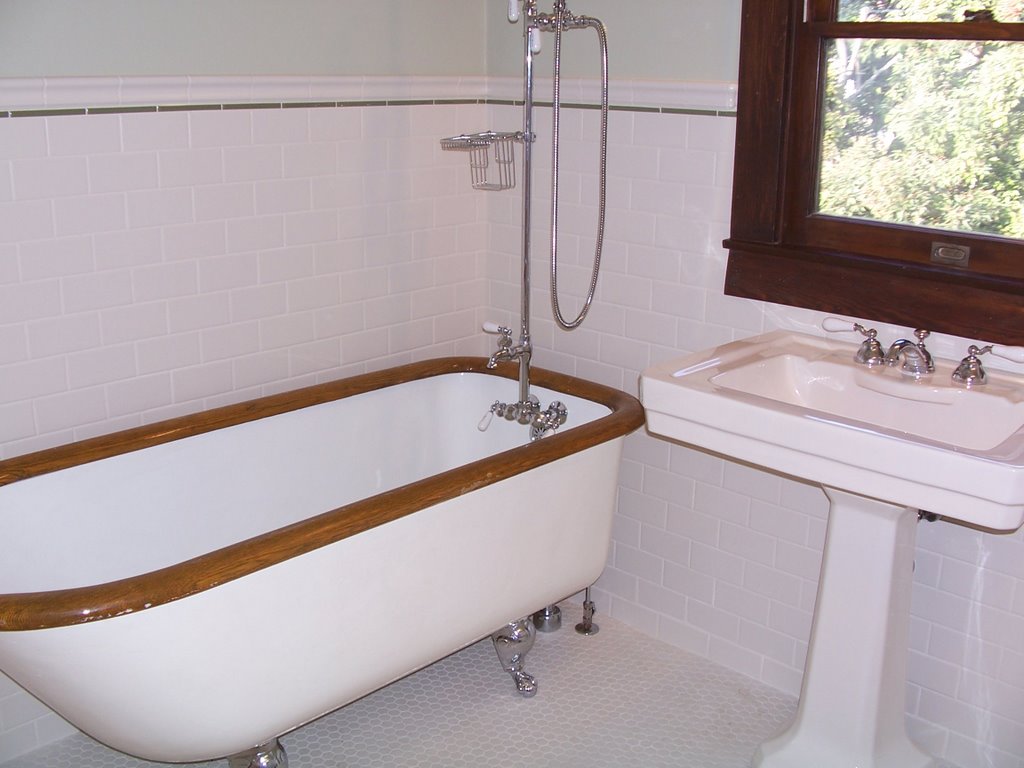
Meanwhile, progress continues on the bathroom...the subway tile wainscot and 1" white hexagon floor tiles are in! The walls were done perfectly, but the floor tile had to be ripped out and redone by the tile contractor because it just wasn't laid out in an even and level way. Luckily, our tile guy was very professional about the situation. And although he was not happy about having to redo it, he was very concerned that the job be done right and that we were happy. And ultimately, it came out beautifully! Next step--fix the gaping holes in the walls. The question is, drywall, or replaster???
Sunday, January 08, 2006
Upstairs Wood

Another ongoing project is the upstairs wood. All of the wood upstairs is "paint grade" which means that it was originally painted, probably white, and always was painted...that is until we came along. For better or worse, I decided it would be nice to have the upstairs wood stained. (Actually, the previous owner, Tina, began stripping some of the wood in the master bedroom. This is probably what got me started down this slippery slope.) This has turned into a MAJOR piece of work.
We began doing some of the paint stripping ourselves when we first moved in, and realized we needed some help. We hired two guys to help us--they worked full time for about 8 weeks last summer and got most of the paint removed and did some sanding, but the wood still was not ready for stain. There's lots of paint left in nooks and crannies, as well as finish sanding left to do. Since summer, we stained (on the exterior) and rehung ten double hung windows just to get all the windows back on the house for the colder weather. We took a major hiatus, but have been back to work over this winter break from school. Our friends the wood strippers took ten doors off of their hinges, unlabeled, and we took a day to figure out the puzzle of which doors hang where. Today was an exciting day because we finally finished staining the wood in the smallest of the four bedrooms. This wood still needs three coats of polyurethane, so the work is not quite done yet, but it is nice to see something that resembles a finished product. We like the lighting fixture that Tina put in this room, and are planning to paint this room in a shade of rich yellow/gold to compliment the fixture. This room will probably be used as Raphael's "playroom" where he can set up his bass guitar, and other toys.
Upstairs Bathroom

One of our areas of focus is our upstairs bathroom, which was gutted when we bought it. In trying to get the bathroom toward a more finished state, it seems we have to make a bigger mess first. We have stained the window and door frame, and bought subway tile for the walls, a pedestal sink and toilet by St. Thomas Creations, and some lovely lighting fixtures from Schoolhouse Electric. The previous owner also left us a clawfoot bathtub, which we found sitting in the living room the day we first saw the house. (Several of our friends, were brave enough to help us get the very heavy tub up the stairs on the day we moved in. Phil thought of a way to hoist the tub up the stairs using rope and a lot of brute force.) We bought a shower riser which will convert the tub into one of those cute showers with the curtain that goes all the way around the tub.
When we called in the plumber to check if all of the pipes were lined up correctly, he discovered that the toilet waste pipe was not to code, and would have left our new toilet sitting uncomfortable close to the side wall. Also, we opted to tear our part of the wall in order to convert a 4" ventilation pipe into a more current 2" pipe. This allowed us to remove a weird little section of wall which jutted out to accomodate the larger pipe. The electrician also came in and made some nasty holes in the lath and plaster walls and ceiling while putting in our new ventilation fan and wall mounted lights. We are a bit worried about how these walls will get repaired, and how much of the lath and plaster will have to be torn out and replaced with drywall. Our next step in the bathroom is to install the subway tile on the walls, and the white hexagon floor tile.
Sunday, December 11, 2005
The Beginning...

Our story began about a year ago...we were looking for a Craftsman house...possibly in Pasadena, or Eagle Rock. We saw an ad for an open house in the West Adams area and decided to check it out on a whim. We fell in love with the large rooms, built-ins, and the wonderful Batchelder fireplace. We decided we could make an offer on the house, and we got it!
Wow, we're living in the heart of the city, instead of a bedroom community like "Bungalow Heaven" where we had been looking. We were a bit shocked, a bit nervous. To our amazement, neighbors began to come over and introduce themselves, welcoming us to the neighborhood. We thought we were in Mayberry. It wasn't too long before we knew most of our neighbors by name and were actually socializing with them. There are wonderful people here.
We moved into our house in February of 2005. Our house is a 1905 Craftsman built by the California Bungalow Company. The house was previously owned by a flipper who held the house for less than a year. She had some work done, including new plumbing and electrical, and a bad exterior paint job, but ran out of money and didn't quite finish too much, and simply made a mess of other things. Our plan is to live downstairs while we finish the entire upstairs, and then move upstairs to finish the downstairs.
Our first order of business was to get a new foundation--a very costly proposition, but necessary for our peace of mind. Next, we decided to strip all the upstairs wood, even though it was originally painted. We are still working on that project ten months later. Most recently, we've been shopping for tile and fixtures for the upstairs bathroom which was left completely gutted. It seems it is easier to go shopping than actually go upstairs and try to get some paint out of a nook or cranny. Many weekends go by when we do no work on the house at all, so this whole project may take a great many years.